If you are in search of how to migrate the WordPress site manually to a new host with no downtime, you may probably have an idea that migrating the WordPress site using a WordPress migration plugin like UpdraftPlus can result in you in a little bit of downtime. And consequently causing a certain loss in business as well as SEO.
If you are tired because the plugins in the market specially developed for migration are not working at all. I am the same as you. Once I tried to migrate my website to a new host using duplicator as well as All-in-One WP Migration plugins. Sadly, Duplicator, as well as All-in-One WP Migration, are both stuck at certain points resulting a huge resource usage.
Then I investigated all the possible files that had a relation to my installation and planned to frame a duplicate of it on the other server I wanted to migrate. And that process actually worked. The process involved duplicating the WordPress files located in the installation directory, the associated database, and the SSL certificate as well.
So, if you are not sure about how you do that, you can contact us after going through our services page. But if you are interested to learn how to migrate the WordPress site manually to a new host, just stick together. We assure you that, if you follow our step-by-step guide on how to migrate the WordPress site manually to a new host, your site will not face downtime of even a single second. Here is the detailed procedure on how to migrate WordPress site without plugin.
- How to Migrate WordPress Site Manually to New Host With No Downtime?
- Decide the New Host to Migrate
- Add The Domain To New Host
- Compress and Export the Site Files
- Export the Database
- Move the SSL Certificate to New Server
- Upload the Files to New Host
- Extract the Files and Place Properly
- Upload the Database
- Upload and Install SSL Certificate
- Set DNS Records (Nameservers or A record)
- Wrap Up
How to Migrate WordPress Site Manually to New Host With No Downtime?
You can easily migrate the WordPress site manually to a new host without facing a single second of downtime. It can be possible if you follow our guide step by step.
The manual WordPress site migration process is in fact much easier than the migration method using the plugins like UpdraftPlus of the duplicator. We recommend migrating the WordPress site manually to a new host or new domain. Because in manual method, you will have the following advantages.
- You can save the time required to set up the plugin in an existing host as well as the new host.
- The time required to upload and download the files between your server and third-party storage is higher than the time required when you download files from the old server and upload the files to a new server.
- You can prevent your site from going offline. It is possible to point the domain to the new server only after every file is placed in the right place.
So, the following is the step-by-step guide you can apply to migrate the WordPress site manually to the new host.
Decide the New Host to Migrate
If you are already searching for site migration, you may probably have a hosting server. But how about your host? Is it fast, reliable, and able to handle the mass file transfer during the migration of your large site? If your server is not the best, here is what we recommend from our side.
You can get a hosting plan for your WordPress site from Bluehost. Which of course is the secure, fast, and trusted hosting service provider. It is also recommended by WordPress itself. Alternatively, you can also go for Hostinger, which also provides the best solution at a really reasonable price.
If your site is large and getting a lot of traffic, you can also go for VPS or Managed to host service. For a managed server, we recommend WP Engine in the first place and Kinsta as it is a bit expensive although it is worth it.
Add The Domain To New Host
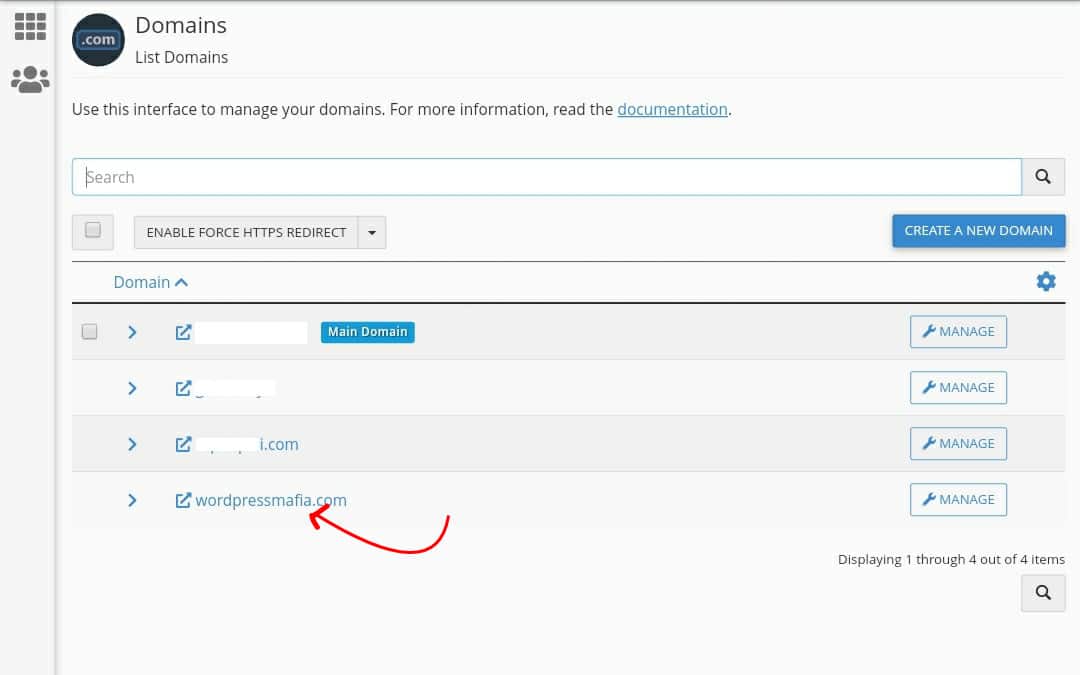
You may probably have added the domain as the main domain during purchase. Although, this step is not essential to mention we recommend at least adding the domain to your server control panel. If you have purchased a single domain hosting, you might be having the same domain as the main domain.

If your hosting allows you to add multiple domains, you can add your desired domain to the new server as an addon domain if the main domain is occupied by another domain. You can even change the main domain to your desired domain generally by submitting a ticket if you wish. The main message of this point is to get the domain added to the new server.
Compress and Export the Site Files
When we are planning to migrate the WordPress site manually to a new host, it requires all the site files to be downloaded to local storage. You can export the site files from the server to local storage with the help of the following steps.
- Login to cPanel or Server control panel
- Identify the desired site’s installation directory.
- Compress the site installation directory to a ZIP file.
- Download the zip file
You can either make a zip of the “Yourdomain” installation directory or the files and folders located inside the directory.
The compression type depends upon the hosting plan you own. If you own a single domain hosting, you can zip all the files inside the public_html. If you own multiple domain hosting, you have to choose the appropriate directory.
Export the Database
As I said earlier, the manual migration is just a matter of identifying the associated files on the existing server and making an exact duplicate of them on the new server. The database is another most important thing that we need to replicate to migrate the WordPress site manually to the new host.
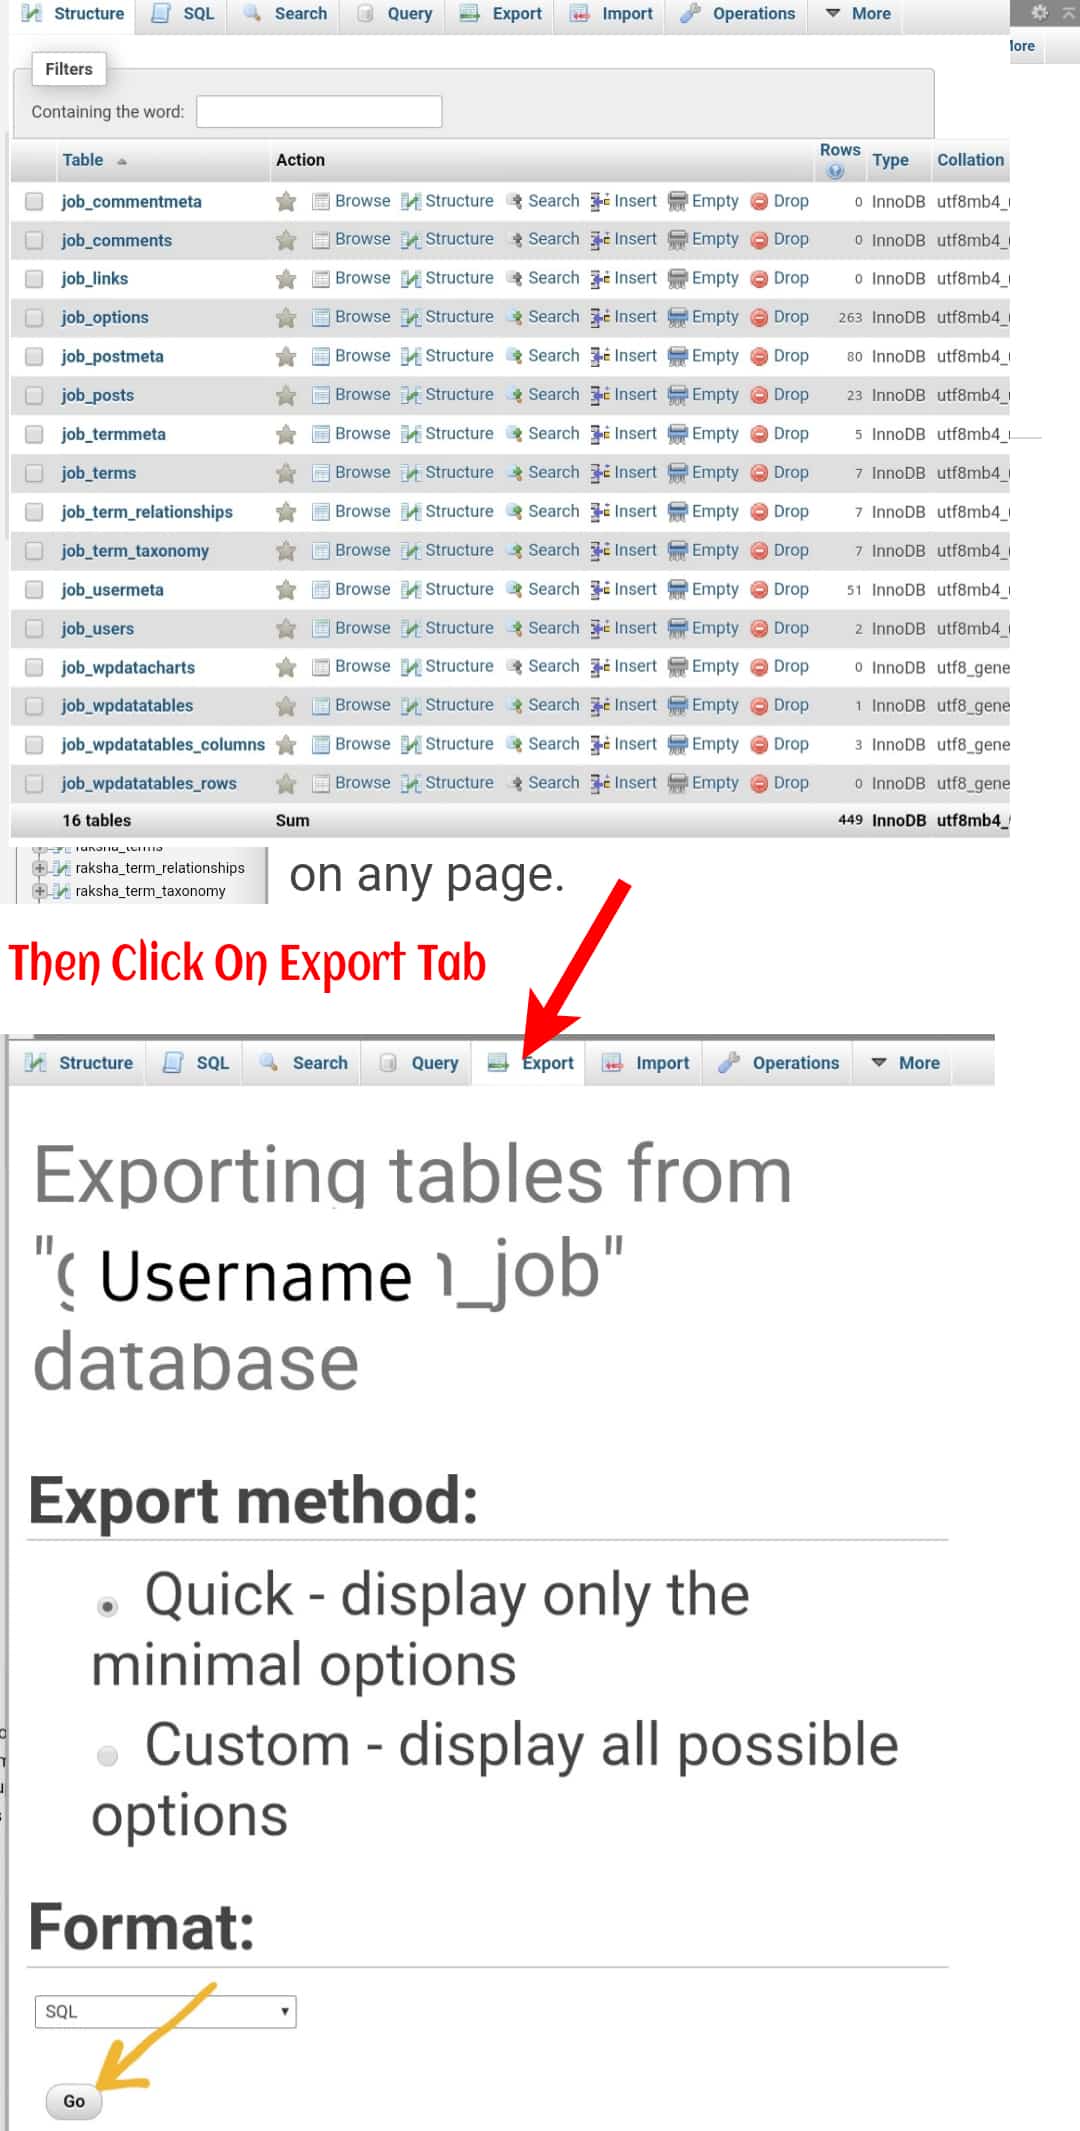
To export or download the database, you may need to identify the database location. In the cPanel control panel, you can easily find the WordPress site’s database inside the Databases section.
To download the database, scroll down to Databases Section and find the PHPMyAdmin option and open it.
- Identify the database (in case you have multiple) and open it.
- Click on Export Tab
- Choose the format as SQL
- Click on the Go

This will initiate the database download process in database_name.sql format. The download time depends upon the size and the server you own.
Move the SSL Certificate to New Server
When you migrate the WordPress site manually to a new host, it inherits the protocol setting (HTTPS) if configured in the .htaccess file. When the site is accessed with any protocol, it will force a redirect to HTTPS. But if the server does not contain the SSL installed on the domain, it will show a warning to the visitor. Which probably bounces the visitors.

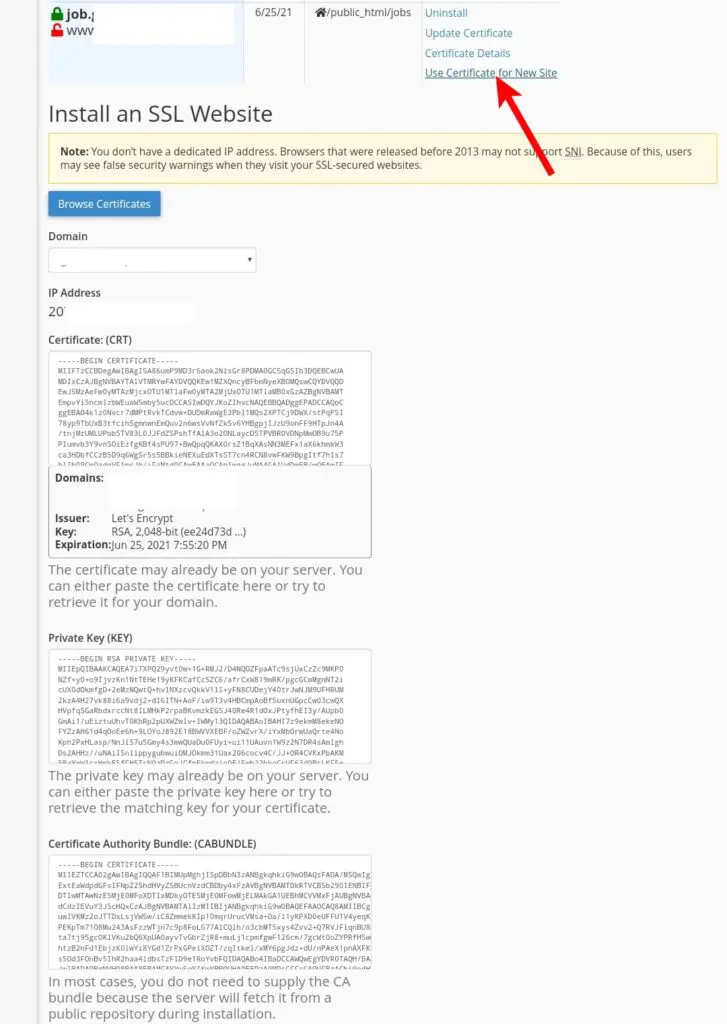
Therefore, go to your old server, and find SSL/TLS setting>Manage SSL Sites. You will find the sites have installed SSL certificates. Click on Use SSL certificate for a new site, it will show up the certificate, private key, and CA bundle.
Copy the certificate, private key, and Certificate Authority Bundle: (CABUNDLE) and save as text somewhere in the notepad or you can simply install them on the new server.
Upload the Files to New Host
The files are the body of your site. So, it is important to create a duplicate of it on the new server. Therefore, you have to upload the site files while you migrate the WordPress site manually to a new host.
When both the files and databases are saved on the local storage, log in to the new host’s control panel. Identify the location where the files for the desired domain lie. Upload the zip file of the WordPress files on the domain directory or public_html (in case, the domain is main)
How to Identify the Directory?
If the domain is added as the main domain on the control panel, you have to upload the files to the root directory called public_html.
If the domain is added as an addon domain, there are two possibilities.
- The Addon Domain may be inside the public_html/yourdomain.com folder. Or
- The Addon Domain may be outside the public_html folder. If it is not, you can even move the addon domains outside the public_html folder.
Extract the Files and Place Properly
If you have zipped the domain directory, it will create a folder inside the directory. Then you may have to move the files after extracting the zip files to the actual root of the domain. If you have compressed the files inside the domain directory, you can simply extract the files and delete the zipped one.
After extraction, delete the compressed file.
Upload the Database
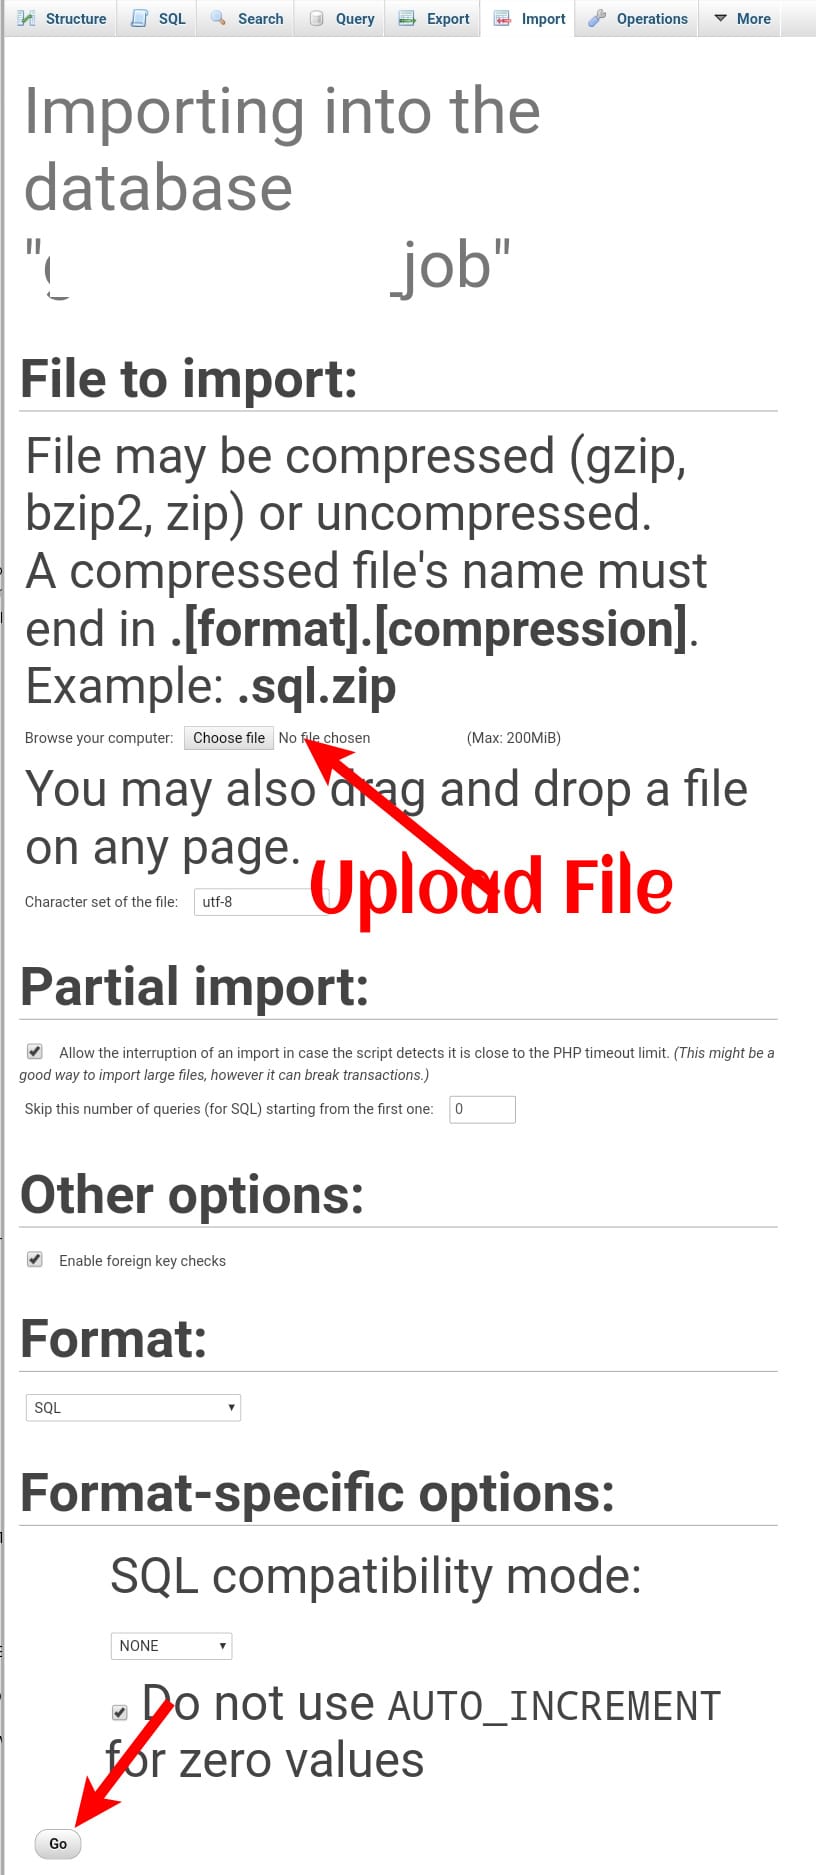
Similar to exporting of the database, you can also import the database from local storage to the server. Go to phpMyAdmin and import the data in .sql format.

There is nothing much to do with the database while you migrate the WordPress site manually to a new host. If the same has to be done during migration to a new domain, there would be some modifications.
Upload and Install SSL Certificate
As mentioned earlier, an SSL certificate is very important. If you forget to install the SSL certificate before you complete all the steps to migrate the WordPress site manually to a new host, it will impact SEO. Suppose, if you are ranking at the top of Google for a competitive keyword, your ranking may drop within a day or few hours.
Therefore, go to the control panel of the new host and fine the SSL/TLS manager, and install the SSL certificate for your domain. Most of the hosting providers also set the ACME which automatically issues the SSL certificate when the domain points to the host with nameservers, not with other DNS records.
But ACME also takes some time in order to issue and install the certificate on your domain. So, it is better to copy the certificate, key, and CABUNDLE and paste them into their respective fields and install it on your domain. This keeps SEO unaffected while you migrate the WordPress site manually or using the plugin.
Set DNS Records (Nameservers or A record)
The domain name system is the last thing you will need to set/map to migrate the WordPress site manually to a new host. After properly completing all the steps, recheck if there is anything to complete.
Now, it is time to point your domain to your new host. If you are using the nameservers to point to the old host, you may want to change the nameservers to the new one.
If you are using the DNS manager of your registrar, Cloudflare, or any other third parties, you can also point using the A records.
Wait till the DNS gets propagated. You can check DNS propagation using the DNS checker tools. The propagation may take some time in some regions while in some regions it might take up to 24 hours.
In this period, your site will be served partially from the old server and partially from the new hosting server. Therefore, do not change modify or delete old host files for a while after you successfully migrate the WordPress site manually to a new host.
Wrap Up
In this simple and easy way, you can migrate the WordPress site manually to a new host with zero downtime.
Discover more from Grisma Blog
Subscribe to get the latest posts sent to your email.
